
CentOS Linux
CentOS is a Linux distribution that provides a free and open-source community-supported computing platform, functionally compatible with its upstream source, Red Hat Enterprise Linux.
System Requirements
- 20GB free disk space.
- Virtual Box on the System.
- CentOS ISO File.
- A minimum of 4 GB RAM is recommended.
- One core or thread for each virtualized CPU and one for the host.
Step 1 :- Download CentOS Linux ISO
Proceed to CentOS official site. then go to downloads. Thereafter, download the CentOS Linux ISO file for free. There are several CentOS Linux versions are there. In my case, I was choose to CentOS Linux 9 ISO file.
Approximate, CentOS ISO file size is 9GB to download.

Step 2:- Create a Virtual Machine
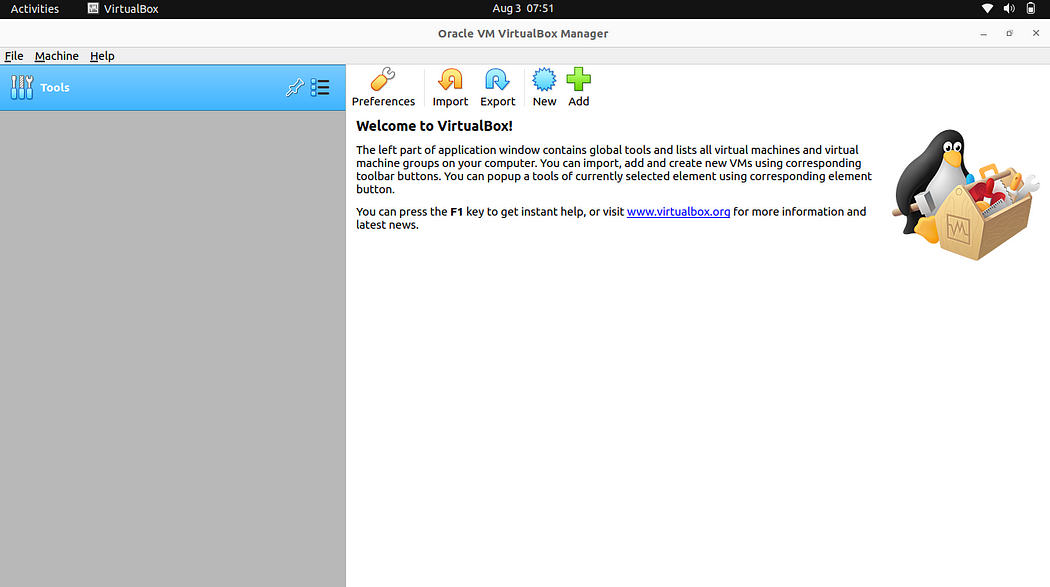
Launch VirtualBox and create a new virtual machine.
Click the New icon.
Name the Operating System name. choose Machine Folder, Type and Version.
Click Next.

In the next step, allocate some memory for your virtual machine. In this case, I have chosen to assign a memory capacity of 4096 MB.
Allocate the memory size for operating system. If you find this is too slow, you can change it at any time while the virtual machine is shutdown.
Click Next.

In the next window, Select Create a virtual hard disk now.
Click Create.

Select the VDI(VirtualBox Disk Image) as your hard drive file type.
Click Next.

Choose Dynamically allocated, so it can use space on your hard disk as it fills up.
Click Next.
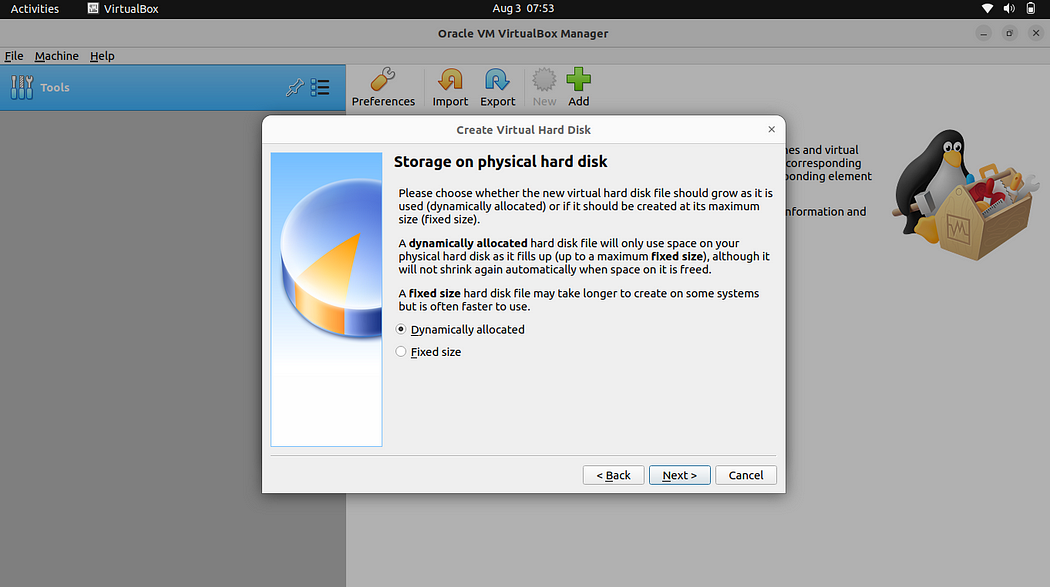
Select File Location and Size.
Choose your Suitable file location and the size of the virtual hard disk.I have chosen to assign 60 GB to my Virtual Machine.
Click Next.

Now, new virtual machine has been successfully created.
Step 3:- Setting Up the Virtual Machine for CentOS
Click Settings.

After clicking on the storage, we will attach the CentOS Linux ISO file to our operating system.
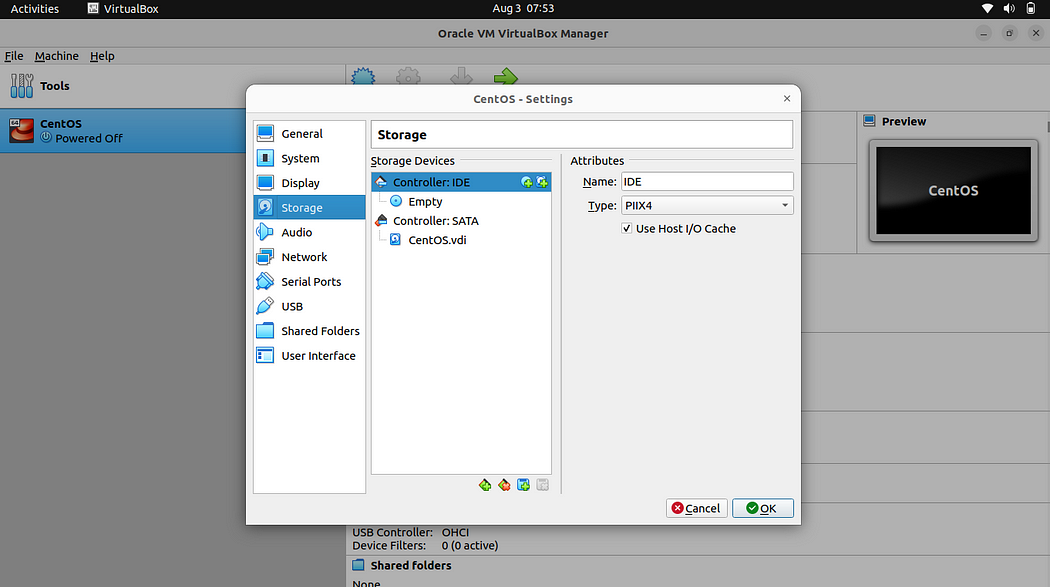
Click on the Empty under Controller: IDE.
After click on Empty.
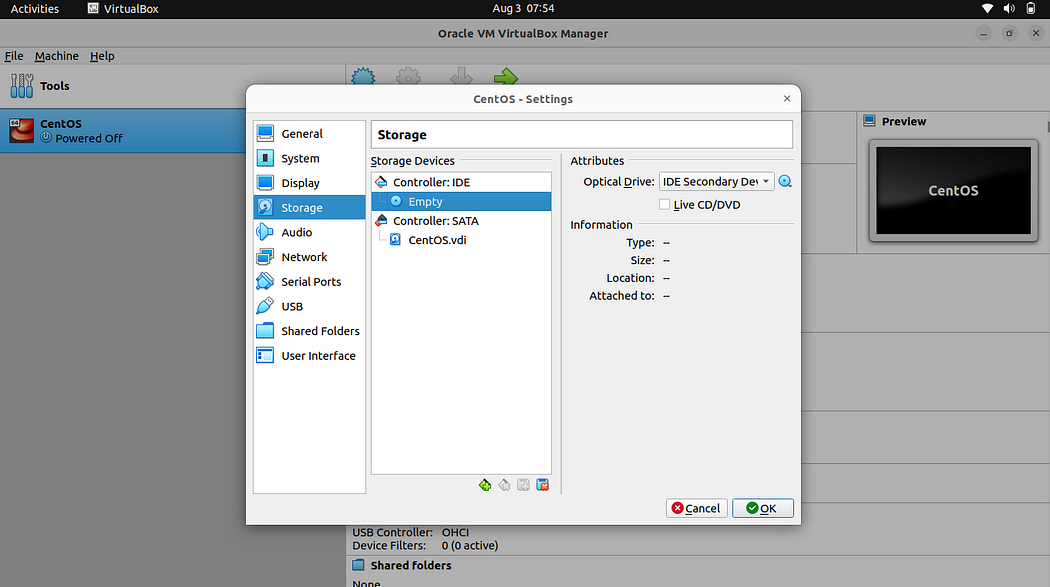
Choose your CentOS iso image file in your local system.And then select CentOS iso image file, then
Click Open.

Now, CentOS Linux image file was selected. And then click Ok.

Now, CentOS Linux should be ready to install.

Step 4:- Installing CentOS in VirtualBox
Now, let’s boot up our machine and CentOS Linux.
Click Start icon on first screen. The CentOS Linux installation process will be started.
Now, use the up and down key to go to Install CentOS Linux.
Press Enter key.

Install CentOS Linux is booted and testing the process. After, the window below will prompt you to select the installation language


Now, you should select your preferred language. I’m using English.
And Click Continue.

Now, should setup the Installation summary.
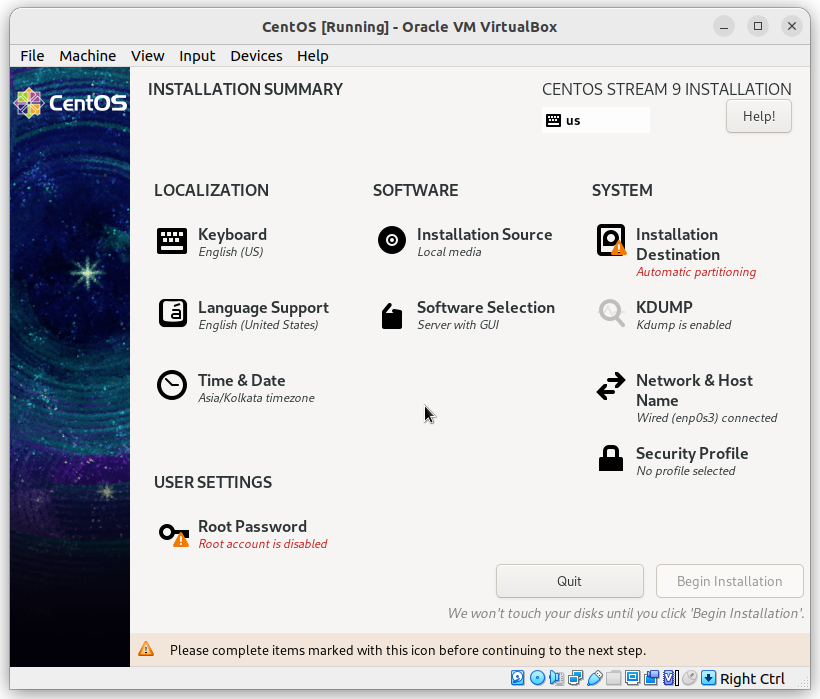
Localization
Keyboard
Now, should add your preferable keyboard layout.
click [ + ] symbol to add keyboard layout and [ - ] symbol to remove keyboard layout.

In my case, I choose English (India, with rupee).
Click Add.

I selected my keyboard layout and also my overview the keyboard layout.
Click Done.

Language Support
Now should select your preferable language support.
In my case, I was select additionally English(India).
Click Done.

Time and Date
Choose the location as per your setup. In my case Region: Asia and City:Kolkata.
Click Done.

Software
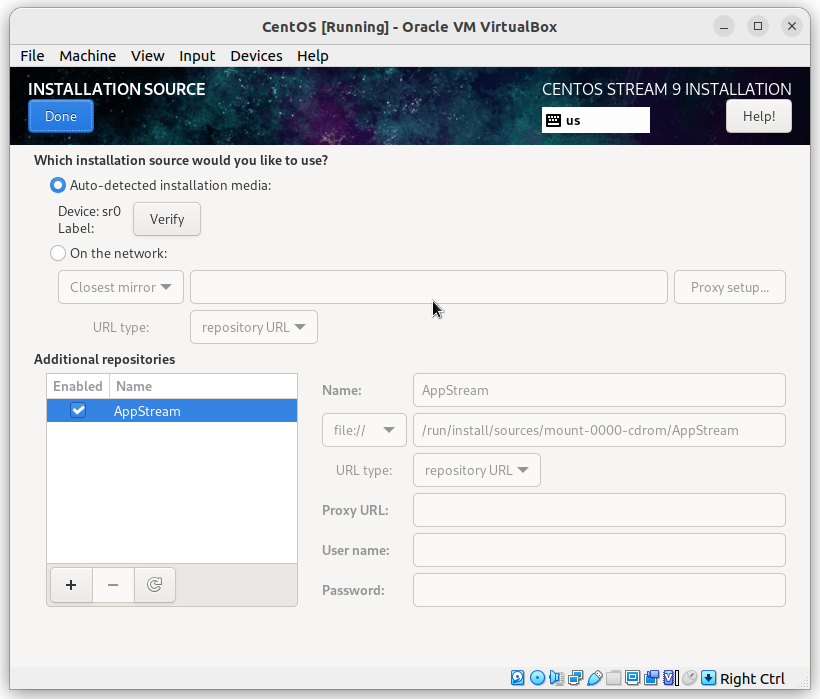
Installation Source
To specify a file or a location to install CentOS Linux from, Select Installation Source from the Installation Summary screen. On this screen, you can choose between locally available installation media, such as a DVD or an ISO file, or a network location.
In my case, I choose default Auto-detected installation media option.
Click Done.
Software Selection
The common installation types are:
- Minimal Install : Minimal server without GUI, for advanced Linux sysadmins.
- Workstation : For installation on laptops and PCs.
- Server with GUI: Server installation with graphical interface for administration.
In my case, I choose Workstation and also select Additional software for Selected Environment.
Click Done.

System
Installation Destination
In the Installation Destination, to select Automatic option to create automatically partition the hard drive. Otherwise, Select Custom option to manually create the partitions.
To ensure the partition option and selected the hard disk. In my case, I was select Automatic option to automatically create the partitions.
Click Done.

KDUMP
kdump is a feature of the Linux kernel that creates crash dumps in the event of a kernel crash. When triggered, kdump exports a memory image that can be analyzed for the purposes of debugging and determining the cause of a crash.
If you will unchecked the Enable kdump, you can save memory.

In my case, I was unchecked kdump.
Click Done.

Network and Hostname
In the Network and Hostname section, turn on the toggle in the network interface. Setting host name is optional.

In my case, I choose default network.If you can change network connection,you can configure it.
Click Done.

Security Profile
Security profile you can choose the security policy for your system.
In my case, I was choose Security profile by default.

User Settings
Root password
In the root account, enter the Root Password and Confirm Password.
Also your preference to choose Lock root account and Allow root SSH login with password.
Click Done.

User Creation
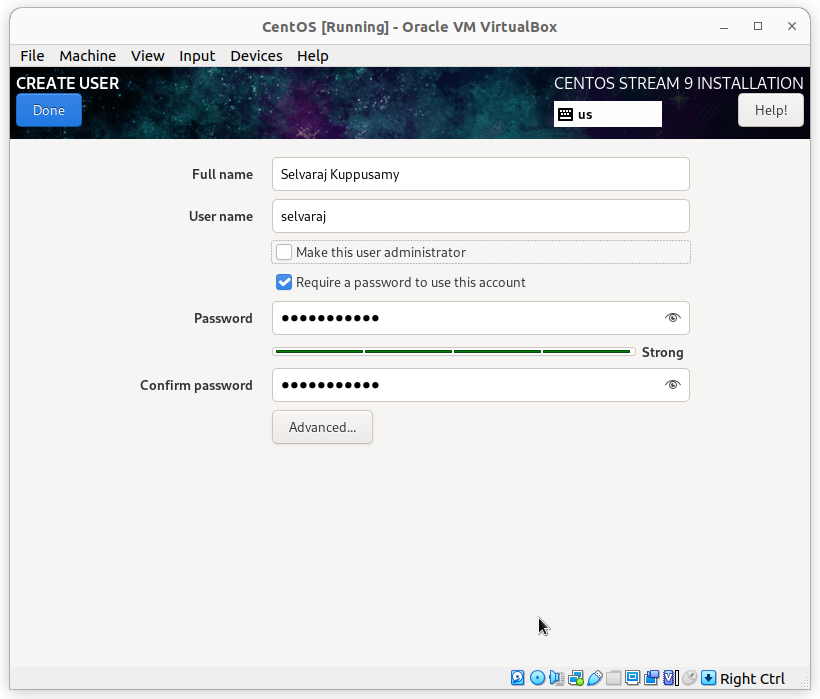
In the User Creation, you can set up your user account .
- Enter your name.
- Enter your user name.
- Pick your username.
- Pick your password and confirm password.
Also your preference to choose Make this user administrator and Require a password to use this account.
Press Done.
Now, this Installation Summary should ready for the Begin Installation.
Once again, Overview all things.
Click Begin Installation.

CentOS Linux installation is processing.

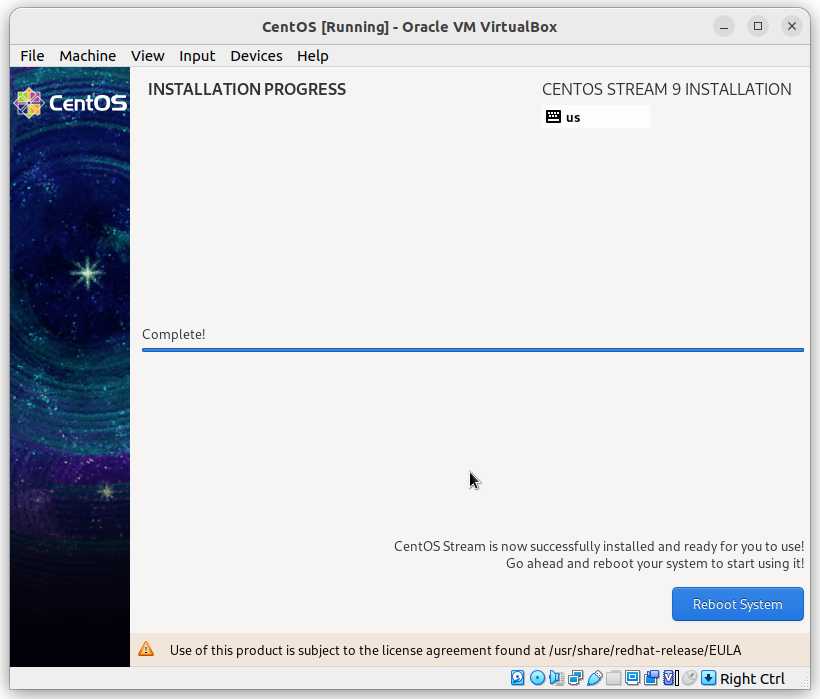
CentOS Linux Installation is completed.
At this point, it is safe to remove your installation media, or in this case, unmount the ISO image file. During the reboot process, select the first entry and hit ENTER.
Click Reboot System.
Now, CentOS Linux login page show here.
Press Enter.

In the CentOS Linux login screen. Enter your user password.
Press Enter.
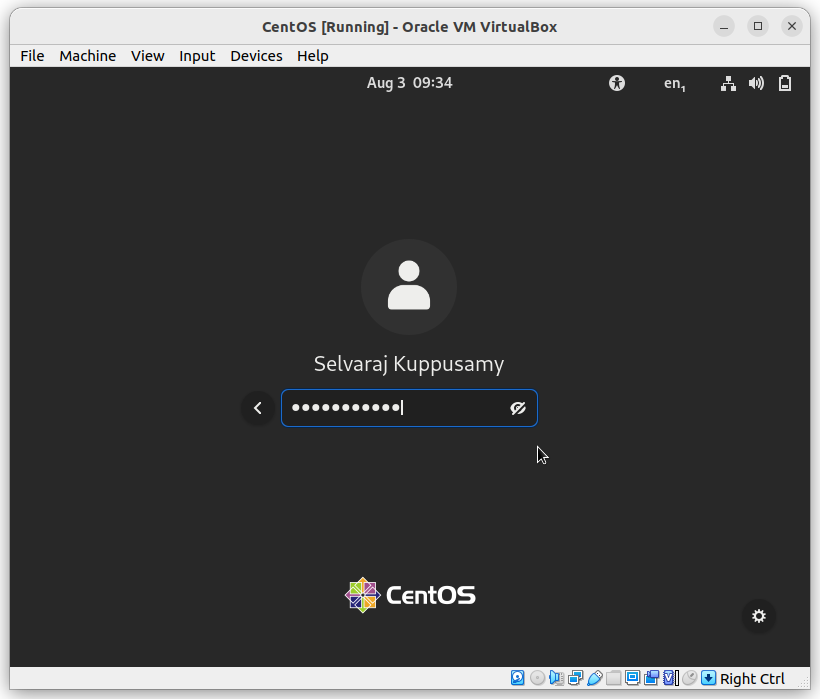
Now, CentOS Linux Login logged successfully.
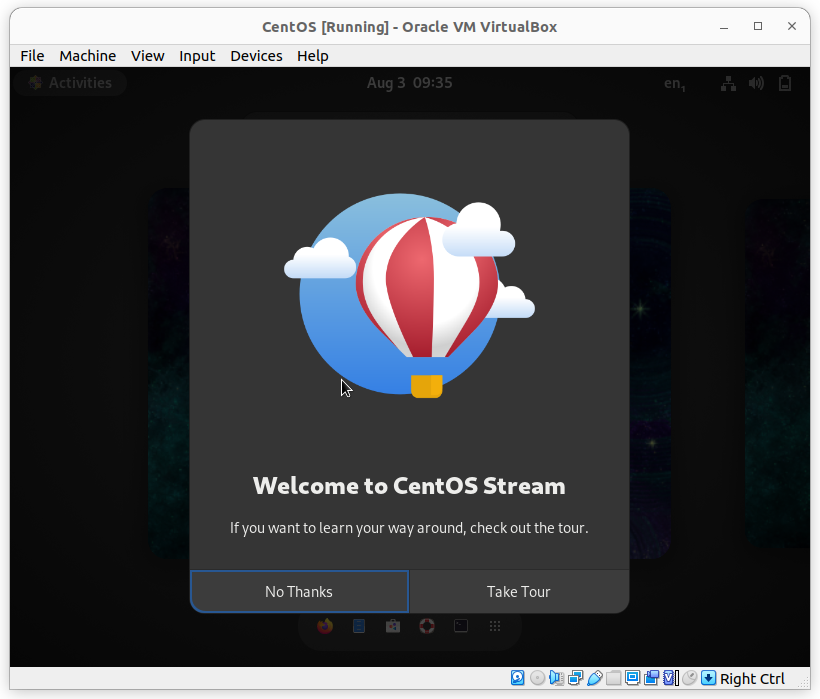
Now, you can explore CentOS Linux.

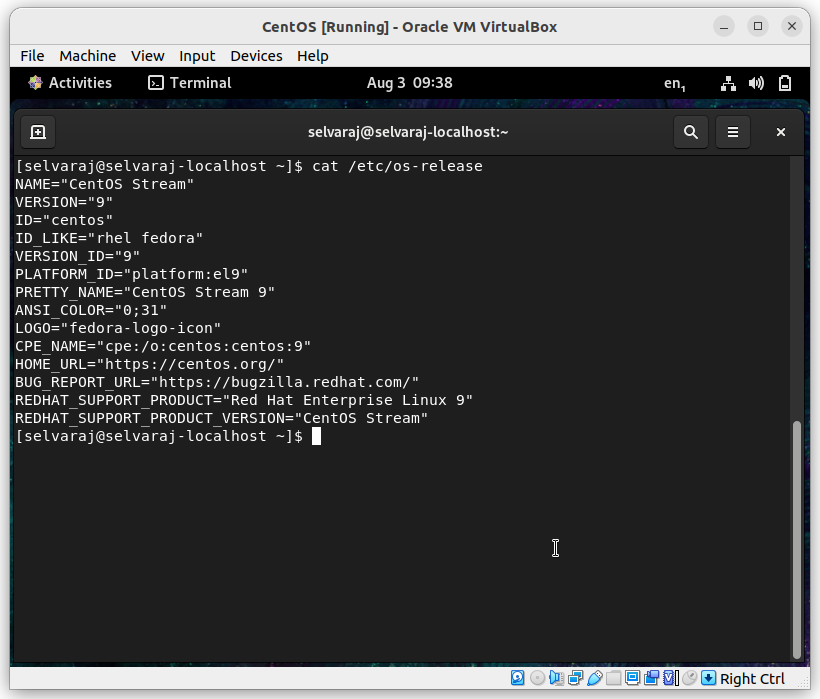
Check, CentOS version.
Use below command in terminal.cat /etc/os-release
Update the CentOS Linux
Now, you can update the CentOS Linux.

Check, CentOS Linux details using neofetch command(Optional).

Finally, CentOS Linux has successfully installed.
Conclusion
In this blog, I show you to install CentOS Linux in VirtualBox.
Never Stop Learning!